Install Zentyal as PDC (Primary Domain Controller) and Integrate Windows System – Part 1
By Matei Cezar Under: Zentyal On: April 7, 2014
Download Your Free eBooks NOW - 10 Free Linux eBooks for Administrators
In this tutorial will demonstrate how to use a Linux distribution, Zentyal, as a PDC ( Primary Domain Controller ) and integrate Windows based system in this Domain Controller.
Requirements:
- Download Zentyal 3.4 Community Edition form this link http://www.zentyal.org/server/.
- A different computer that runs a Windows based system to be integrated to domain.
- The domain used is a fictional one and runs on local network only : “mydomain.com”.
Step 1: Installing Zentyal Server
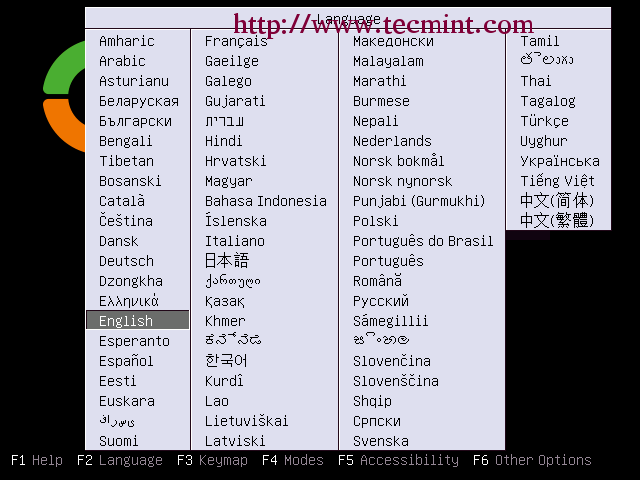
1. Choose language.
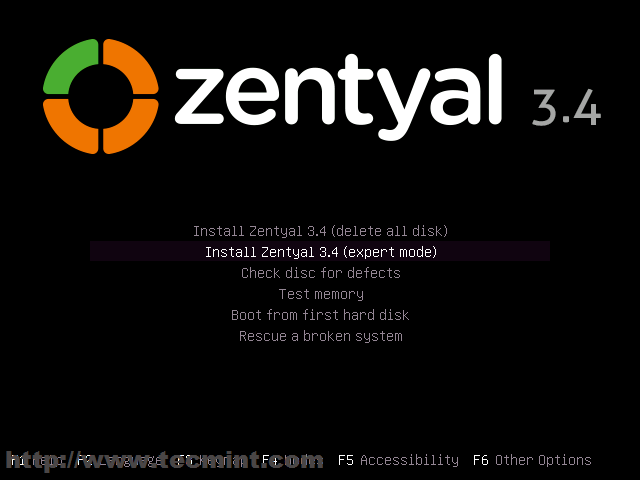
2. Choose expert mode.
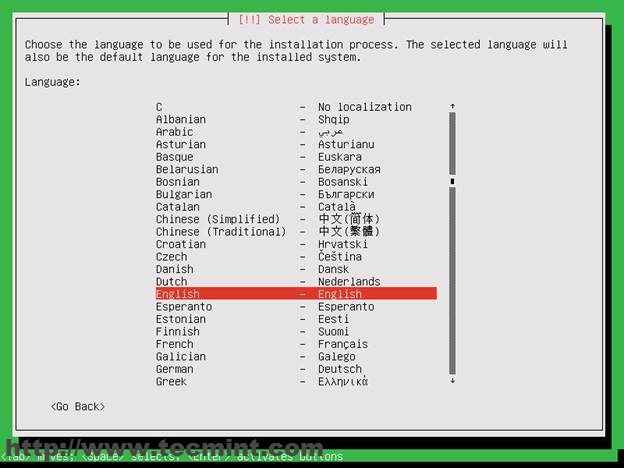
3. Again choose your language for installation process.
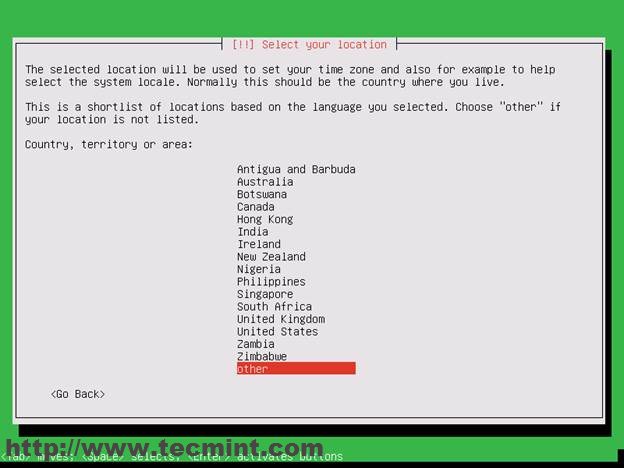
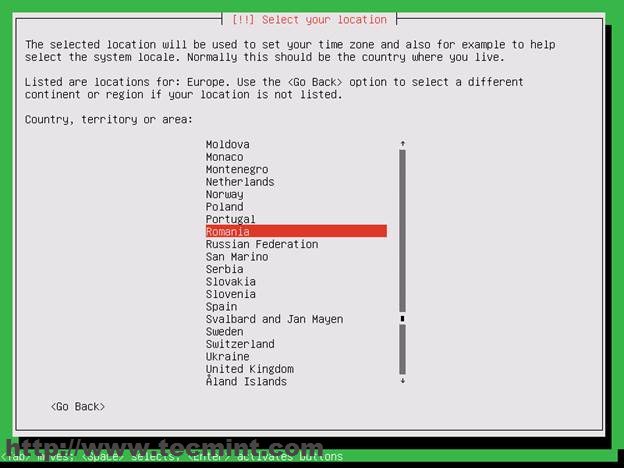
4. Choose your location. If your country is not listed in the default options choose other , then select your continent and country: I’m in Romania so I choose Romania.
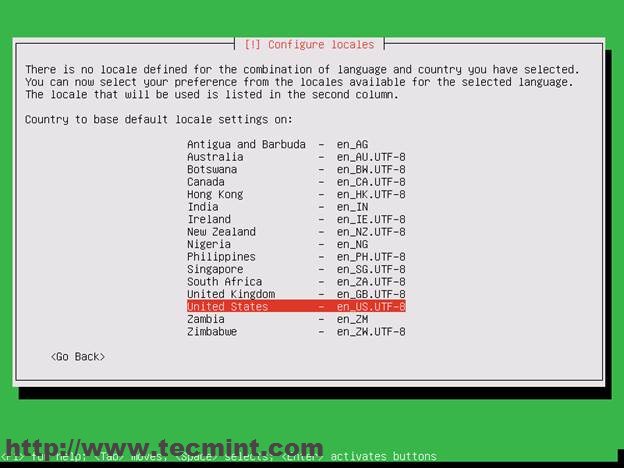
5. Next configure your locales: I choose USA (en_US.UTF-8 ) because is a general locale.
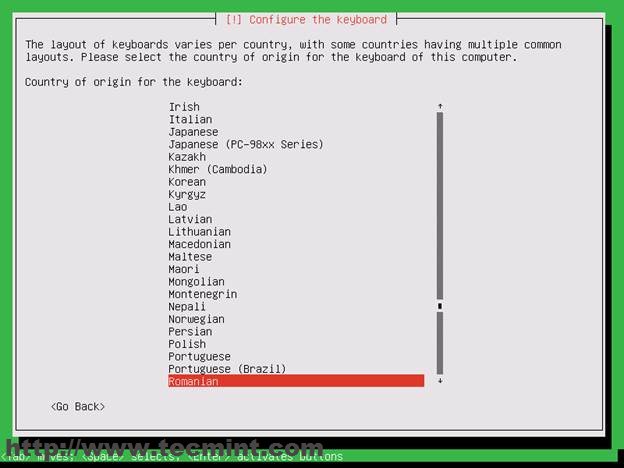
6. Next select your keyboard : Again I choose Romanian keyboard.
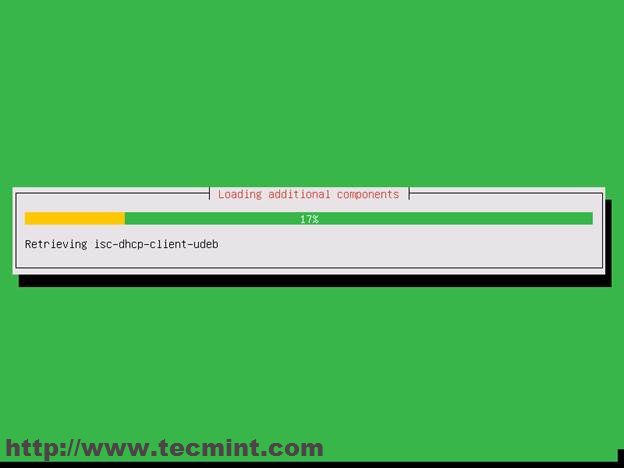
7. Next the installer will load components needed for configuring the system.
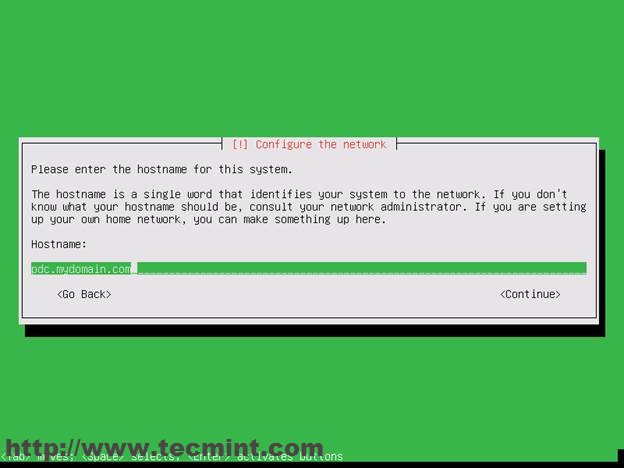
8. The next installer stage is to set the hostname for your system. You should enter here yourFQDN. This is a test server so I choose “pdc.mydomain.com” ( Be aware that “pdc” will be this server and “mydomain.com” would be your domain for Active Directory ).
9. Next choose a user for system administration ( This will be the privileged user with root powers – sudo ) not the user domain controller.

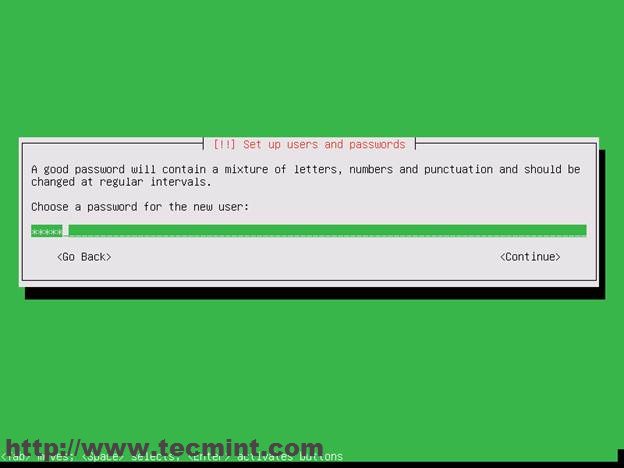
10. Next type a password for root user. Choose a strong one ( 9 characters at least upper&lower&numerical&special ). Here I choose a simple one because is a test server.
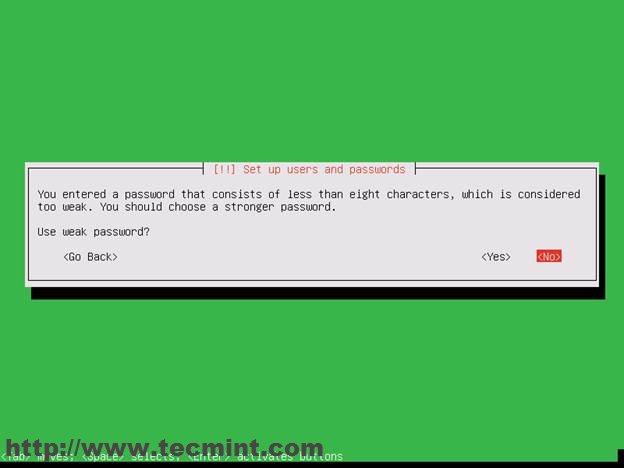
11. Next it will ask you to re-enter your password and if you choose a weak one the installer will warn you about this fact. So select Yes and hit enter.
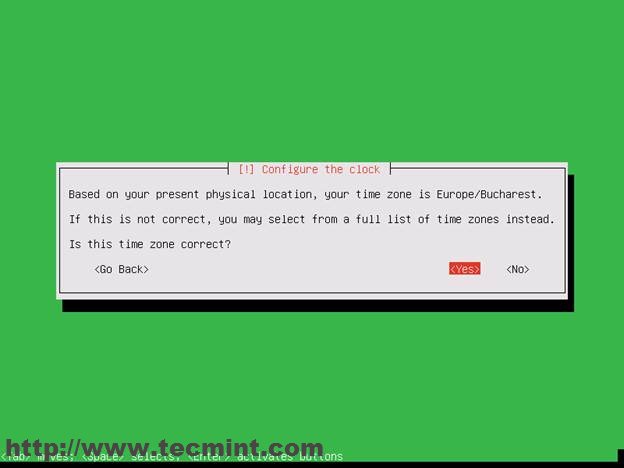
12. Next step is configuring your time. If your system is connected to Internet the installer will automatically detect your time zone. So press Yes if your time setting are the correct ones.
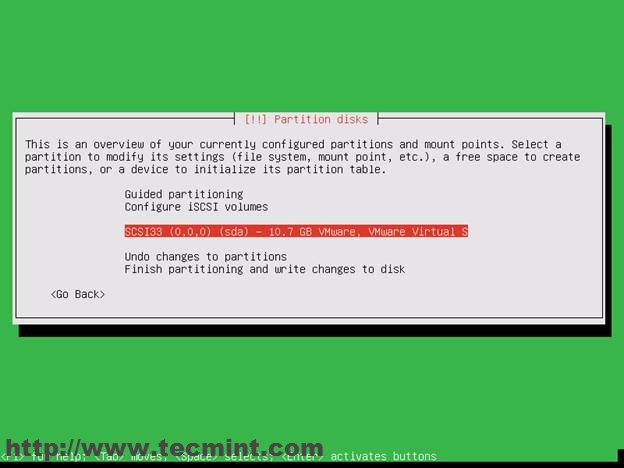
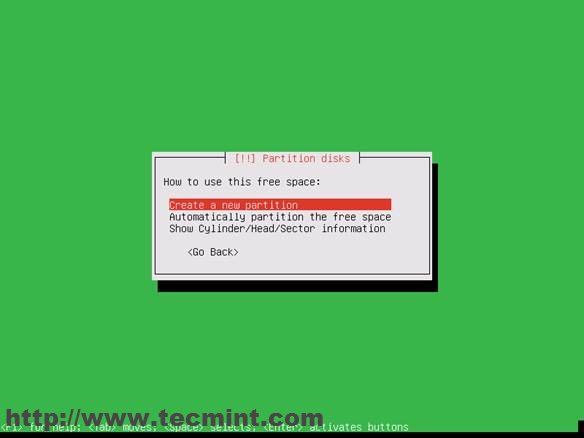
13. Next screen is Partition Disks where you have four alternatives like in the images bellow. For better control over your system partition choose manual and hit Enter.

14. Choose your HDD. In this setup I’m on a VMware virtual disk.
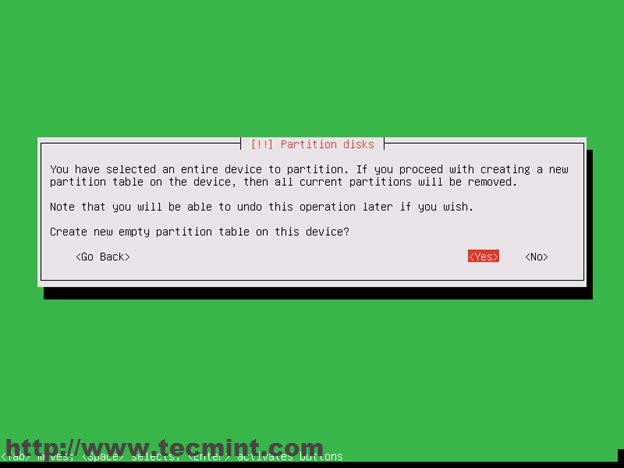
15. Next choose Yes and hit Enter.
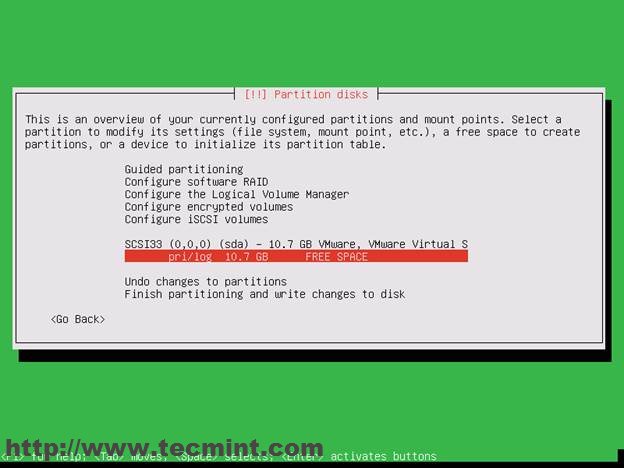
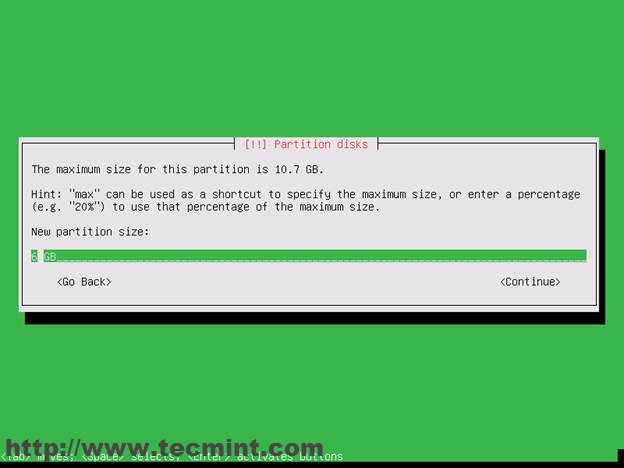
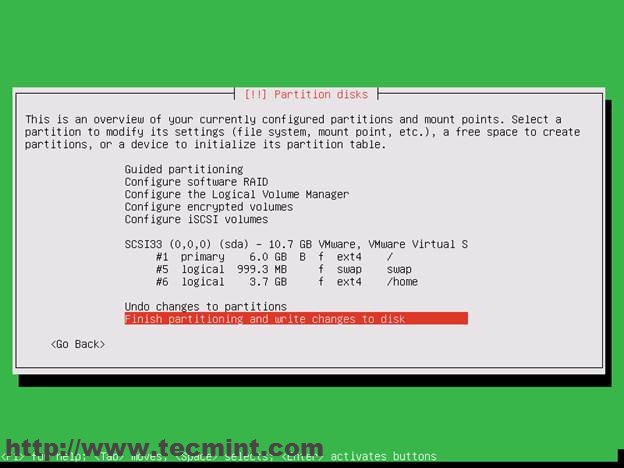
16. Configuring the Hard Disk Partitions. My HDD system config is the following.
- 6 GB for / Partition ext4
- 1 GB for swap area
- 3.7 GB for /home ext4
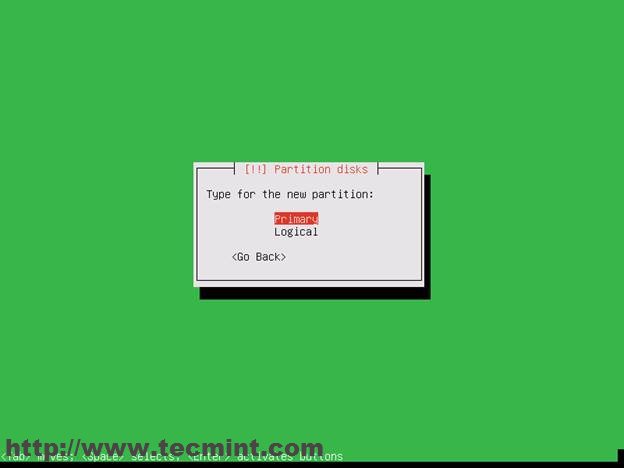
On a real server you should allocate more space for all of partitions , even create a new one for /var. Now is time to create a partition. Follow the steps. Choose Free space.
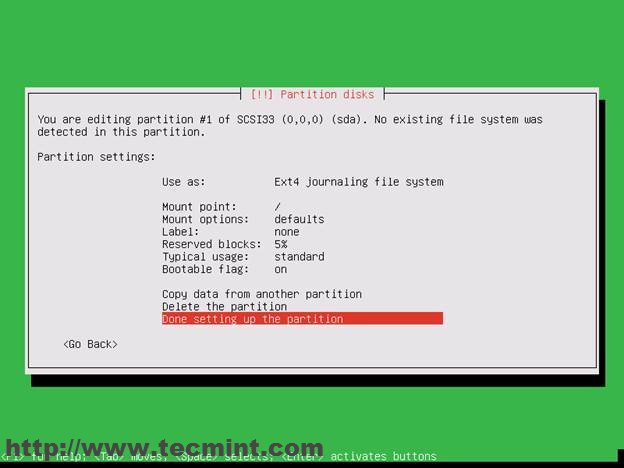
Repeat this steps for /home and swap partitions too. The final disk layout should look like this. On the next warn dialog choose yes and hit Enter again.
17. The next stage on the installer is asking if you want to setup a Graphical Environment for Zentyal. If your server has a monitor and a keyboard attached to it then you should probably choose No ( This will install a LXDE GUI ) else choose yes ( you will control your system remotely using web admin interface and ssh ).

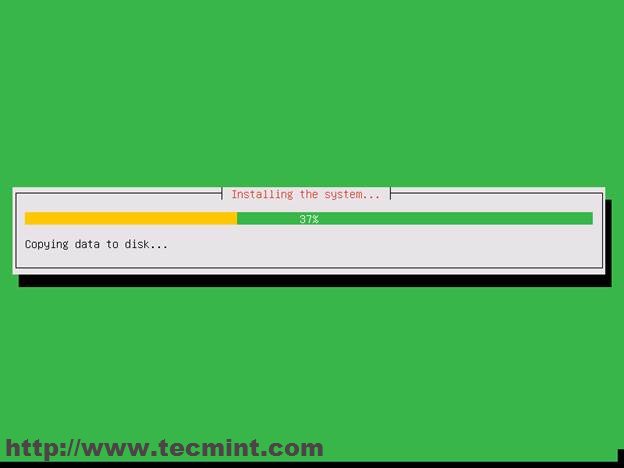
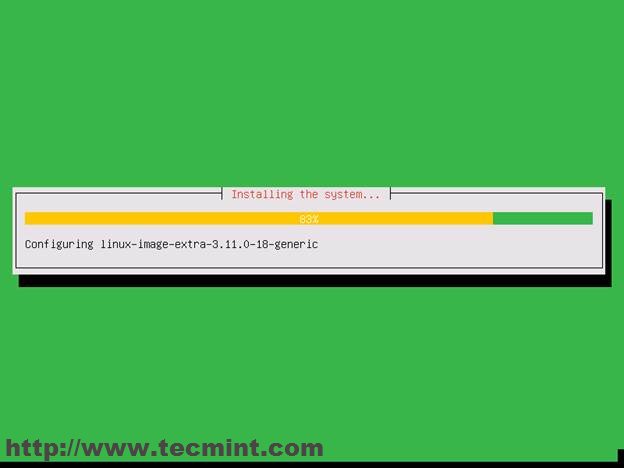
18. Next your system starts installing.
19. On the next dialog just hit enter ( if you are accessing internet through a proxy you should enter it now).

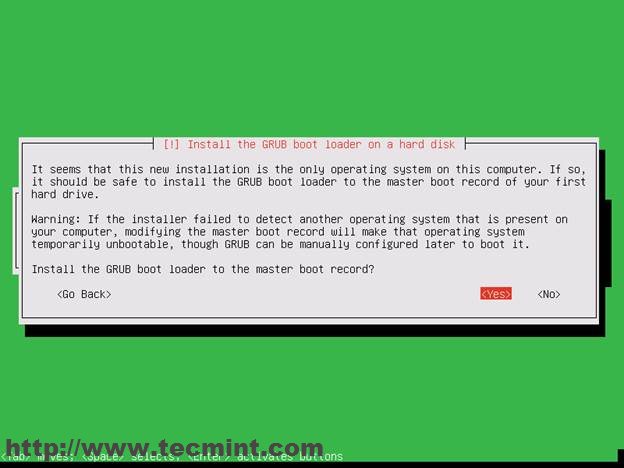
20. Choose Yes for installing Grub into MBR.
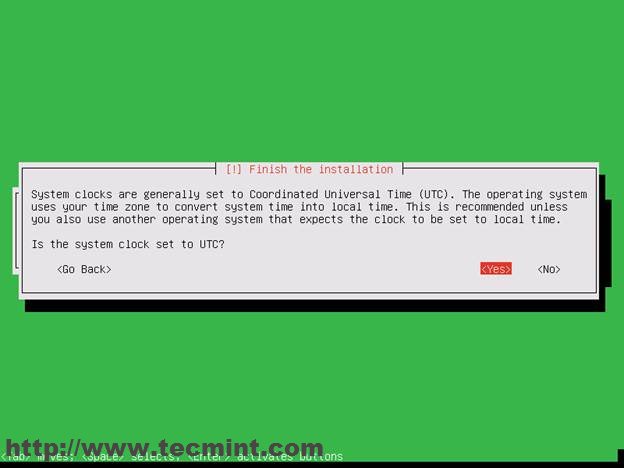
21. Next choose Yes for next warning about UTC time.
22. And we reached finish line. Press enter to continue and the system will reboot.
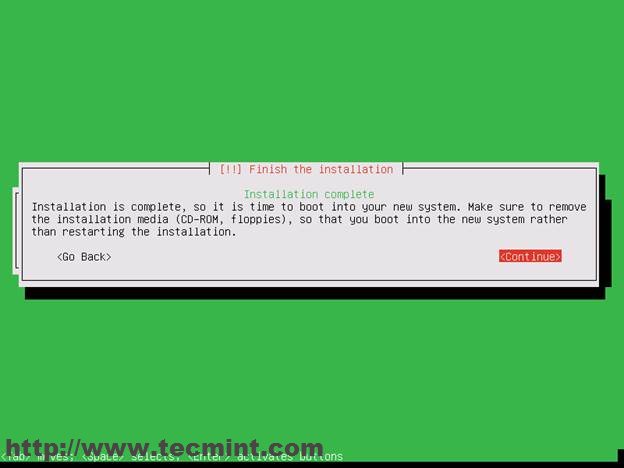
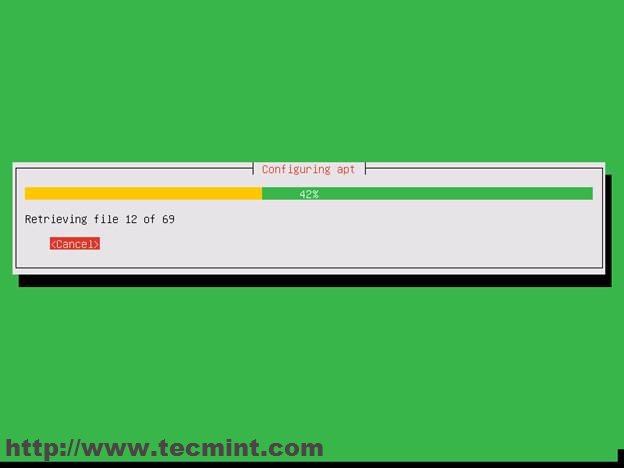
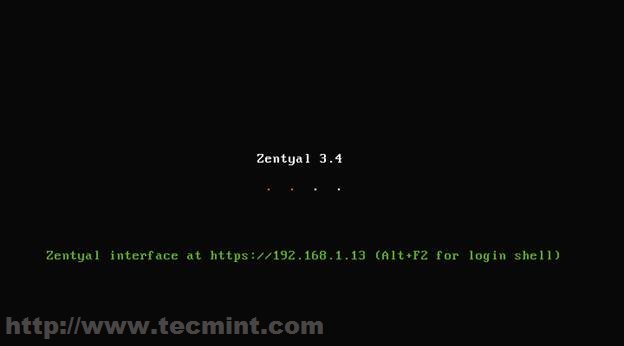
After rebooting the system will install some basic software and the it will prompt us for web IP administration.

Step 2: Installing Basic Softwares for PDC
Now it’s time to go to heavy stuff …meaning accessing web remote administrating tool and installing the basic software for the server to become a complete Primary Domain Controller (PDC) with samba4.
- Next open a web browser and type the address prompted in Zentyal ( for this example the web admin address is : https://192.168.1.13 ).
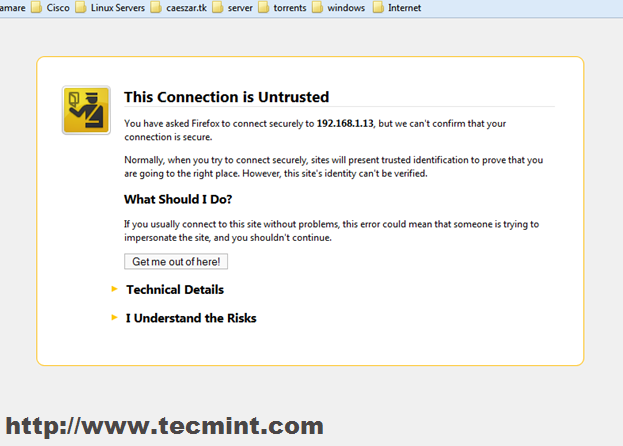
- Next the web browser it will warn you about a security issue relating the certificate.
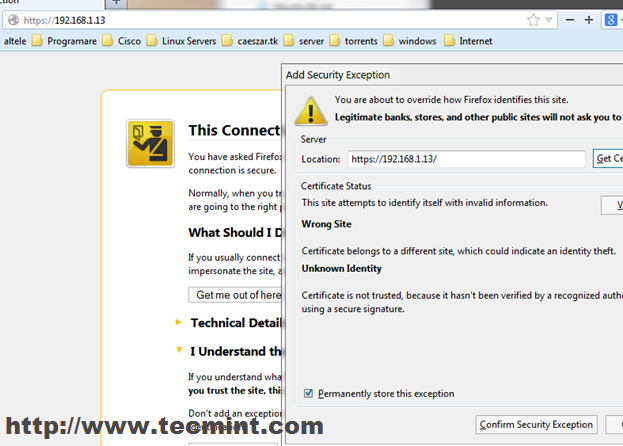
23. Choose “I Understand the Risks” , “Add exception“ and then “Confirm Security Exception” like in the screenshoots below.
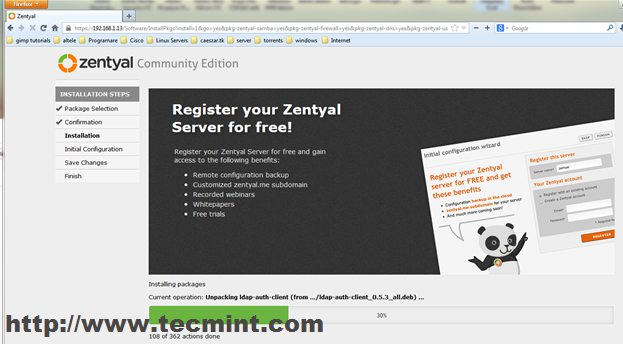
24. Then enter your user and password for admin user ( the user created on installation).
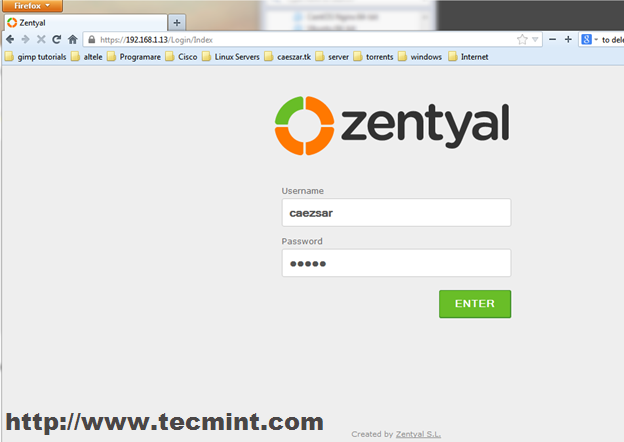
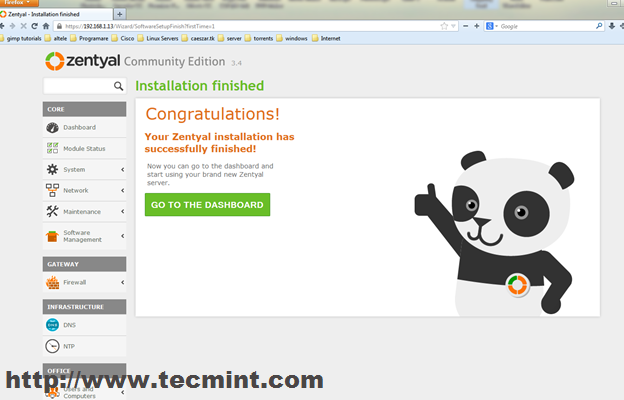
25. We are now presented with the Zentyal Web Administration and it’s time to choose and install software for our PDC.
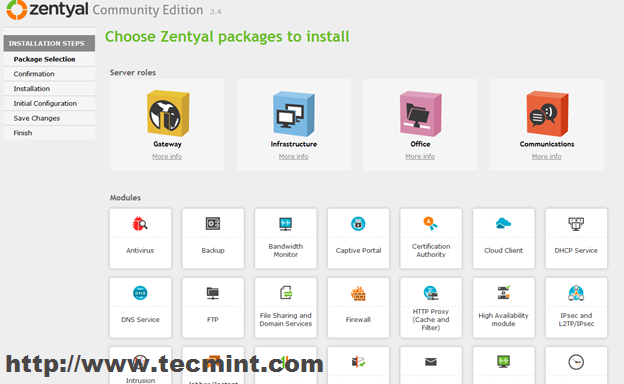
26. Choose the following packages (modules) for the server to become a Primary Domain Controller.
- DNS Service
- File Sharing and Domain Services
- Firewall
- Network Configuration
- Printer Sharing Service
- Users and Computers
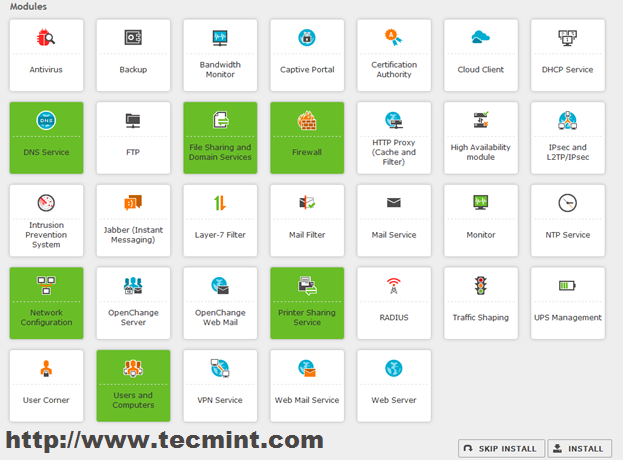
27. Confirm your modules installation.

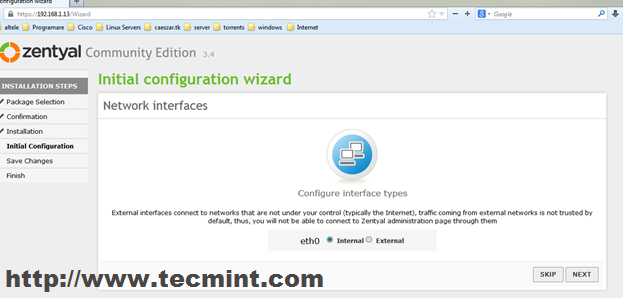
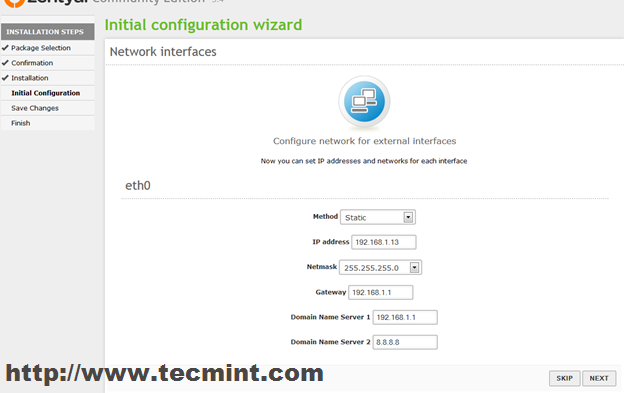
28. Next configure your Network Interface as Internal.
29. Next choose Static Method and enter your static IP server address ( this will be the pdc address) , netmask , gateway and DNS servers.
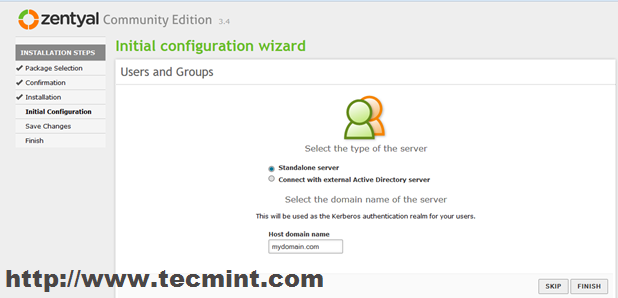
30. Choose Standalone server and enter your domain name ( not FQDN) and hit Finish.
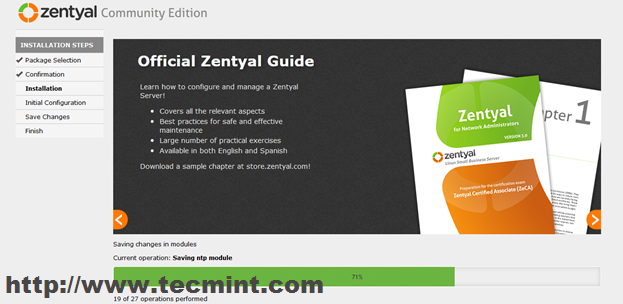
Now the software for this server to become a PDC is installed and ready to be used.
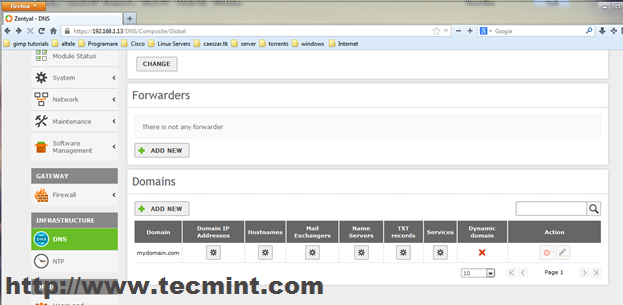
31. Now you should go to DNS Module and make sure that your domain is listed in the Domains tab.
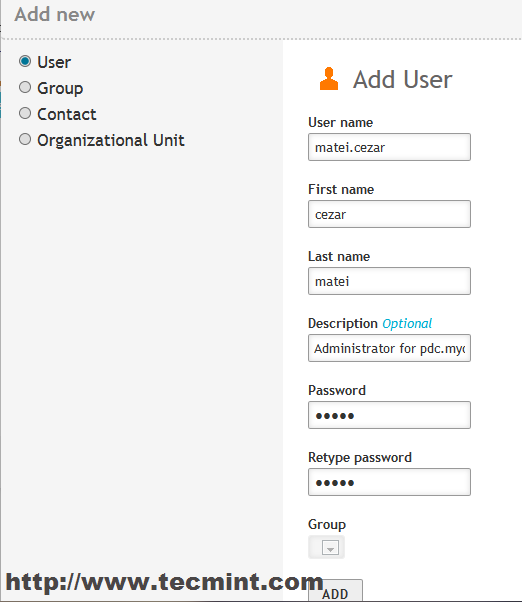
32. Then go to Users and Computers Module , select Manage and add a user with Administrator Privileges for Active Directory. Select Users , Click on “+” button bellow and enter your credentials.
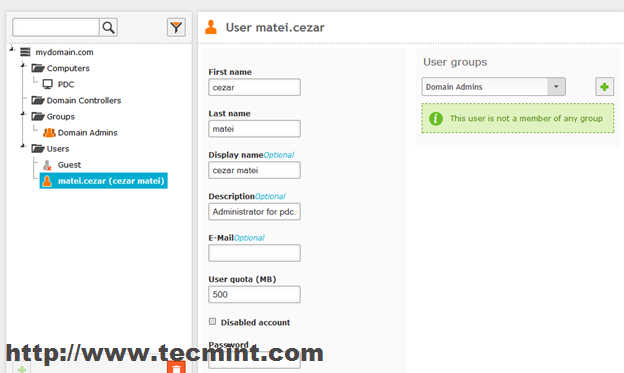
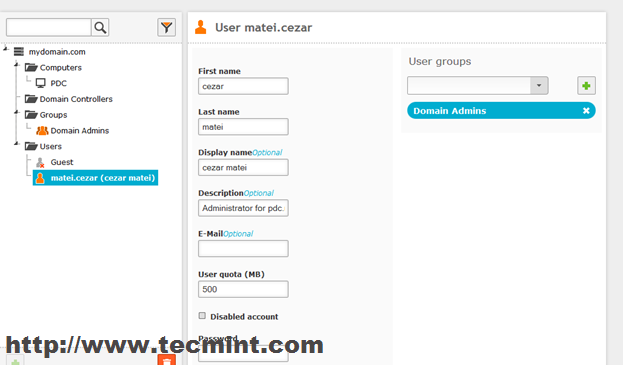
33. Then select the user you just created an on the right side under User Groups field select Domain Admins and hit the “+” button so it should look like bellow screenshots.
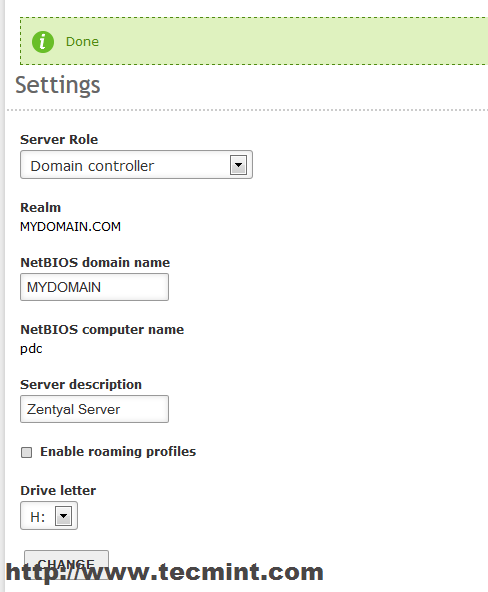
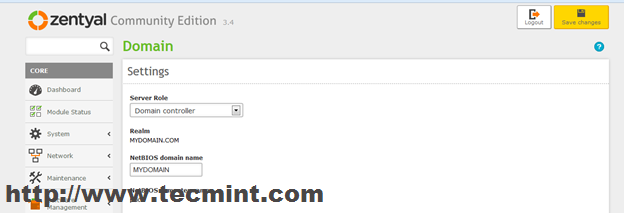
34. Now go to Domain Module , select Settings , choose a description for your server, select “Enable roaming profiles” and hit Change button.
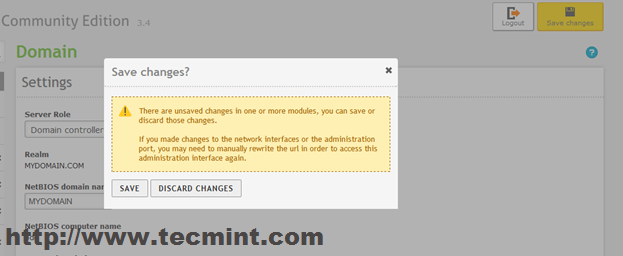
35. Now go top right and click on Save Changes for the system to apply your new settings and Click Save.
That’s it for now on the pdc server minimal configuration to become a Primary Domain Controller.
Step 3: Integrating a Windows System in PDC
It’s time to integrate a Windows based system ( In this example a Windows 7 system) in the “mydomian.com” domain.
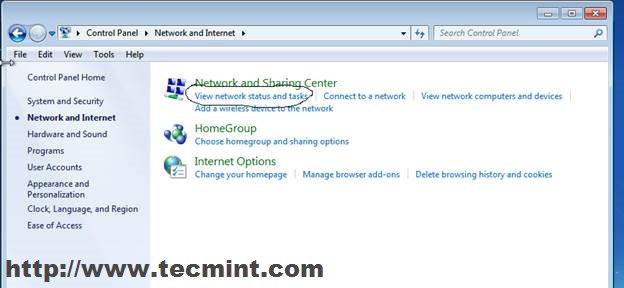
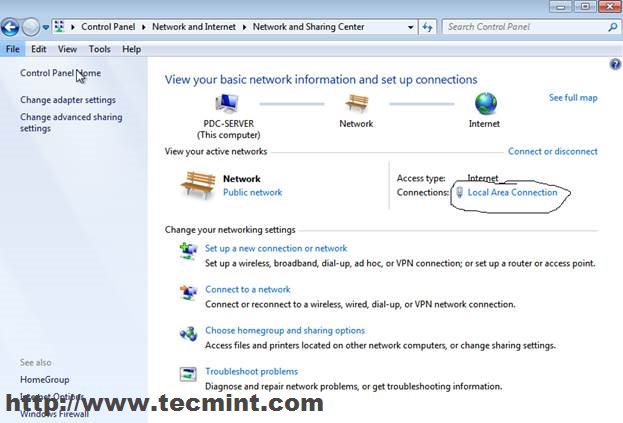
36. First let’s setup network configuration for the system to be able to access the new domain. Go to Start -> Control Panel -> Network and Internet -> Network and Sharing Center -> View Network Status and Tasks -> Local Area Connection.
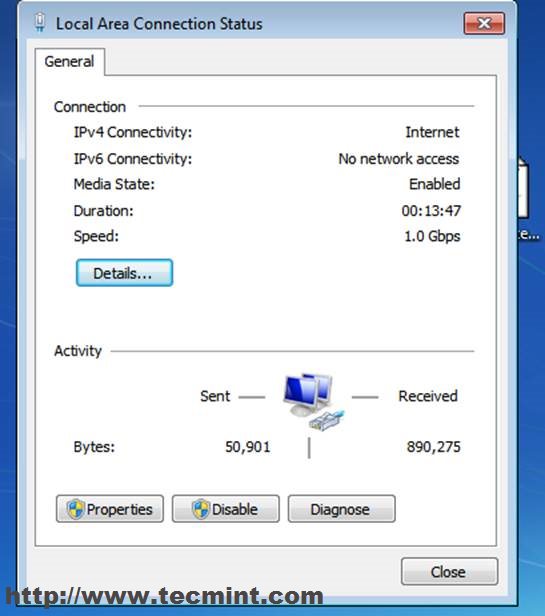
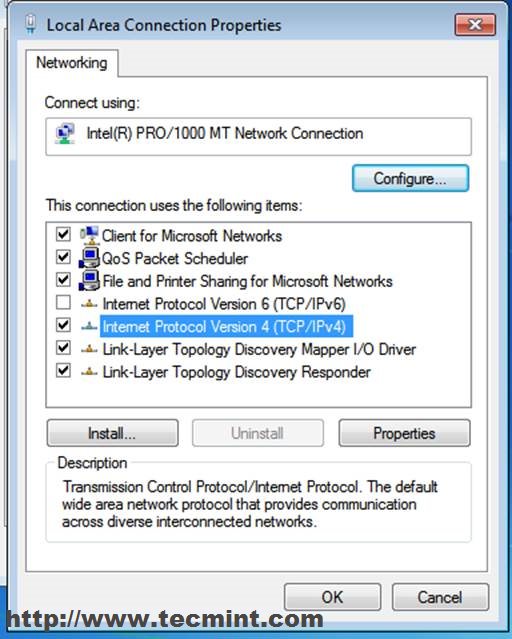
37. On Local Area Connection select Properties -> IPv4 -> and enter your static IP, netmask, Gateway and DNS like in the screenshoots bellow.
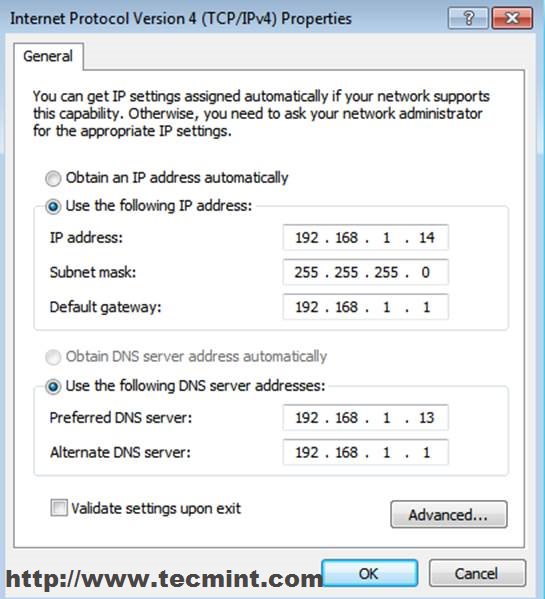
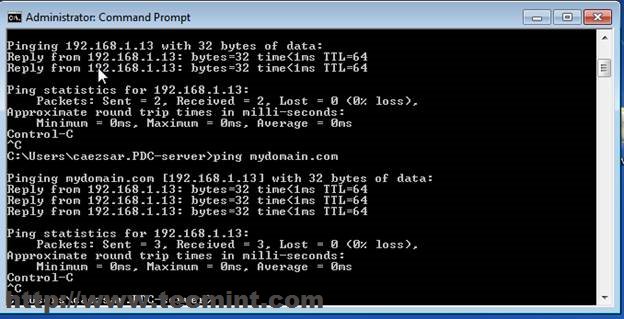
38. To be sure that everything is OK try first pinging your pdc server address and then ping domain name.
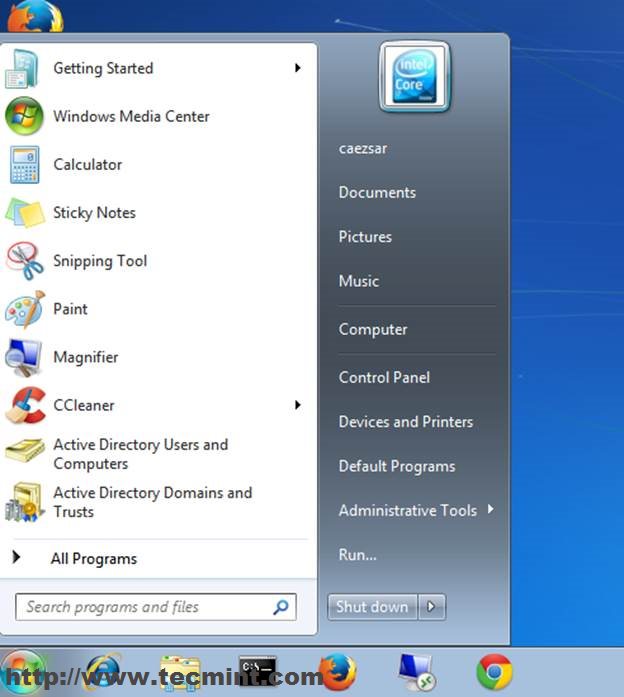
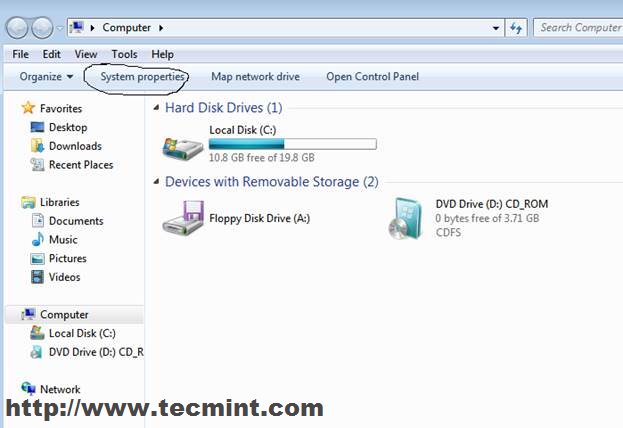
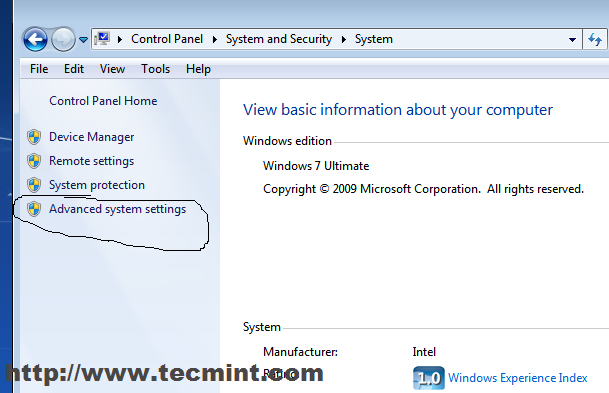
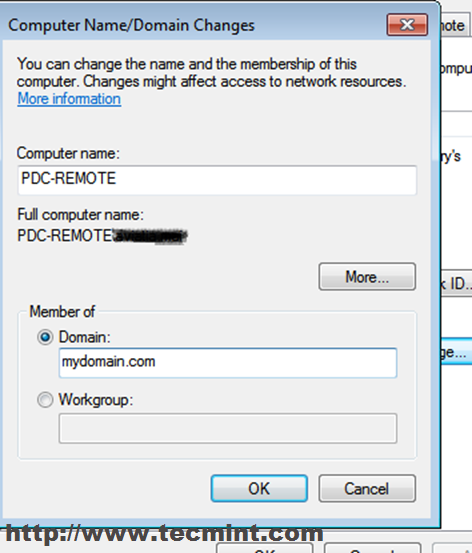
39. We now reach the end of this tutorial. Let’s finish the configuration by adding Windows 7 to the mydomain.com domain name. Click “Computer” -> System Properties -> Advanced System Settings -> Computer Name.
40. Enter your computer name in Computer Name field domain in Member of Domain.
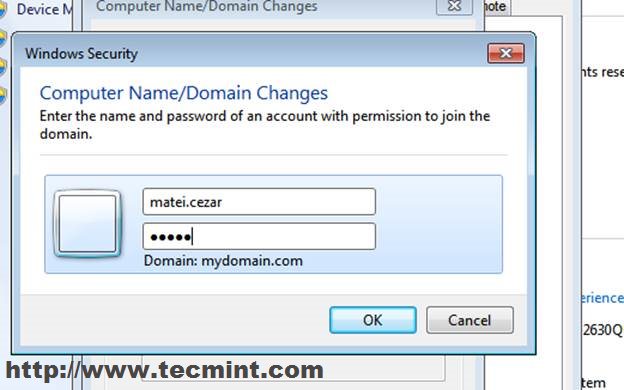
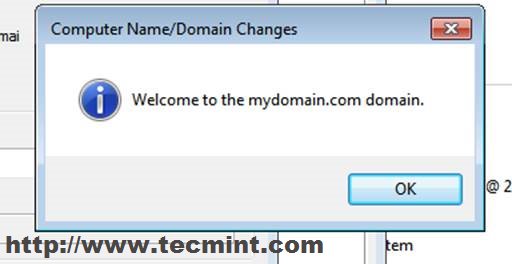
41. On the next prompt enter username and password for the Administrator User of your domain ( the user created in Users and Computer through Zentyal Web Interface).
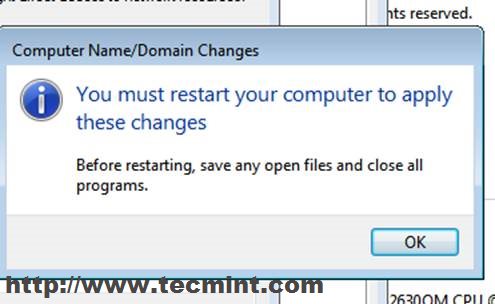
42. Reboot the computer to apply the setting and logon to your new domain.
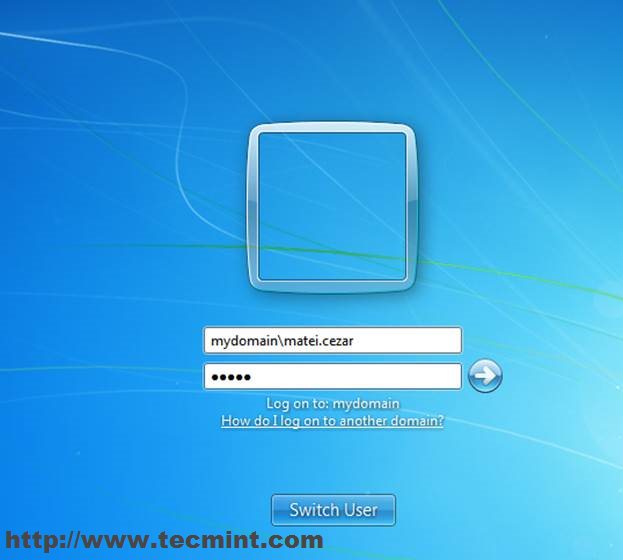
43. After reboot on logon enter domain and administrator username.
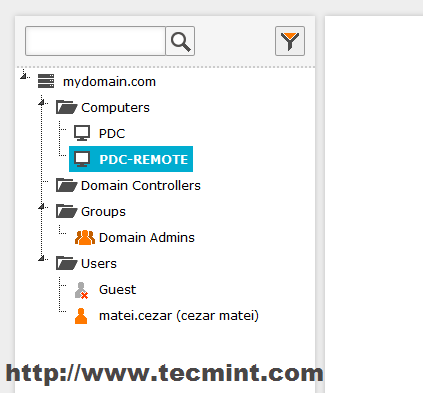
44. Navigate again to https://192.168.1.13 and check if the Computer has been added to Users and Computers.
Congratulations! You now have a full domain service and you can easily add other windows based system into your new domain .
Next tutorial will be on how to access your pdc server remotely from Windows based systems, Create new Users and Groups, Create a Share and setup Group Policy for this domain users and computers.
No comments:
Post a Comment